We’re not going to deny it – hiring a skilled tradie is just one of the perks of our amazing lives here in Australia! But that doesn’t mean we’re not up to learning how to do more things for ourselves at home, does it? Saving some money and empowering your renovation skills is something we all should embrace, so why not ask yourself today: could you do your own skirting board installation?
Whether you’re tired of those dodgy old skirting boards or the ugly gaps between the walls and the floors that were never seamlessly covered up in the first place, learning how to install skirting boards isn’t the easiest task – but it’s not the most difficult one either.
First, let’s grab the gear we’ll need:
- The skirting boards of your desired style & material
- Quadrant moulding/quarter-rounds
- Mitre Box
- Stud punch
- Panel pins
- Tape measure & pencil
- Adhesive
- Caulk
- Paint/sealer
- Paint brush
- Sandpaper.
That should be more than enough gear to get the job done in a jiffy. So let’s get started as we install skirting boards for the very first time!
1. Paint the skirting boards
If you’re going to paint the skirting boards or just seal them, do it before you do anything else.
2. Measure
Next up, we’ll need to do some measuring so that we make sure we’ve got all the skirting boards & quadrant pieces we need for the task. To make life easier, lay the skirting board on the floor where you intend to install them.
For particularly long stretches of wall/floor, overlap the two pieces so we make sure you’re accounting for more than enough materials for the job.
3. Cut with Mitre Box
Heard of a Mitre Box? It’s a really cool tool for easily cutting skirting boards at exactly the right angles required for the job. You’ll be looking for the 45 degree ankle for the most seamless connections and a nice big surface area for the glue.
4. Secure to wall
Apply the adhesive directly to the back of the skirting board pieces, distributing the glue most efficiently by using a zig-zag pattern.
As you stick the pieces to the wall, start with the corners to ensure that your Mitre Box joins all connect seamlessly. While the glue dries, use panel pins to hold it all in place – because later you can use the stud punch to completely disguise the pins with a dab of filler.
5. Add the Quadrant/quarter-rounds
Next, add the Quadrant/quarter rounds to disguise the gaps between the bottom of the skirting boards and the floor. As with the skirting boards, use the Mitre Box for the perfect cuts.
Only secure the quarter rounds to the wall rather than the floor, because there is always some natural movement of your home’s floors and the walls. As with the boards, start with the corners for the Mitre Box joins.
6. Finish off
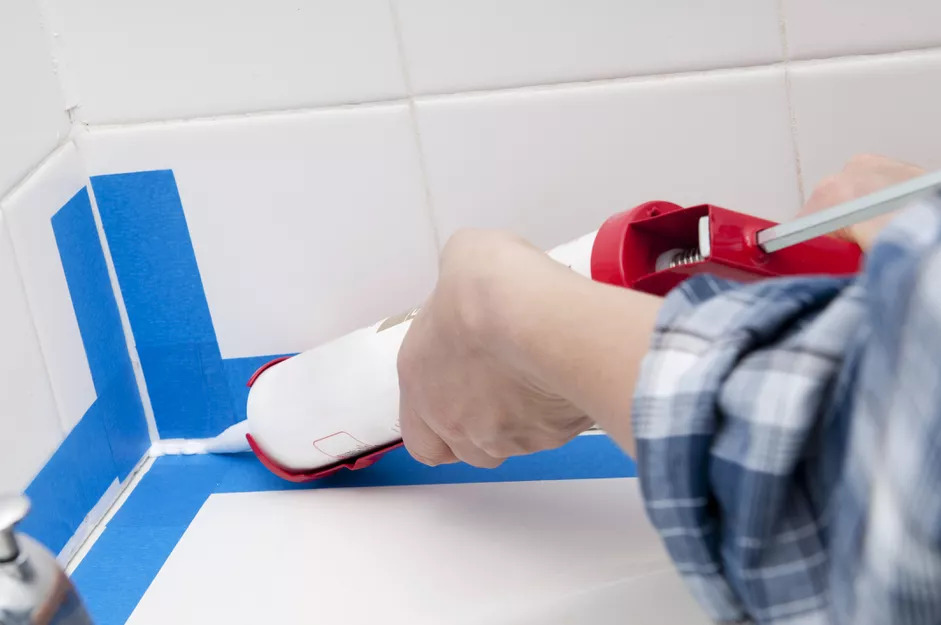
To finish your seamless job, get rid of all the little gaps and imperfections with contractor acrylic, and simply smooth off the finish with your finger. Lightly sand your work and touch up with paint if necessary.
Installing skirting boards not your thing?
Don’t forget, while those skirting boards are there to add a layer of protection at the base of your walls for all those feet, vacuums and pets, they also need to look great. If you’re not sure installing skirt boards are really up your alley, don’t worry: it’s one of the simplest and fastest jobs done by a professional handyman near you, so it won’t cost you an arm and a leg. Good luck!


